Replacing Makita 9564 Grinder Armature
-
Posted on November 14, 2012
| Makita 9564 Grinder PartsMakita 9564 Replacement Armature
The 9564 Makita grinder is a pretty strong running grinder. No question it’ll get the job done for you. With that being said, if you use it pretty regular its only a matter of time before it’ll break down. There are several common breakdowns for all grinders, and that includes your Makita. This is instructions on how to replace the armature of your 9564 grinder if it goes out on you.How do you know if its your armature
- Difficult start-ups
- Shut-offs during use
- Visible discoloration, damage, warping or chipping
|
|
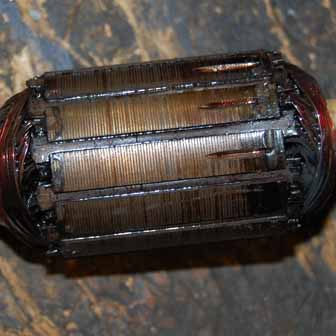
This is what a bad armature could look like:
Damaged Commutator: This is a very common armature malfunction. This is also one of the most deceptive symptoms. Believe it or not just because the commutator my look bad doesn’t necessarily mean it is malfunctioning. If this is the only part that looks bad on your armature, I would strongly suggest you try a new set of brushes before you change out your armature. |
|
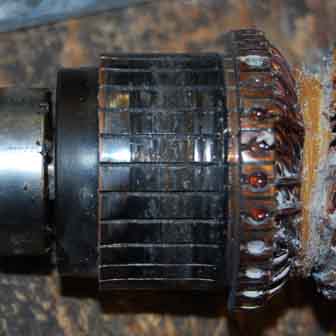
Burned Out Coil Winding: Notice how only one band of the coil is burned up. If you see this, you should replace your armature. |
|
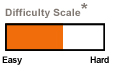
Worn Out or Burned up Coil: Notice how the armature is much darker than usual. This is a pretty strong cue that it is burned up. |
Replacing Armature Instructions
|
|
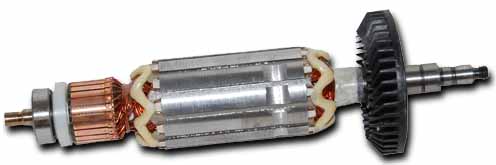
Get the right armatureOrder online:
|
|
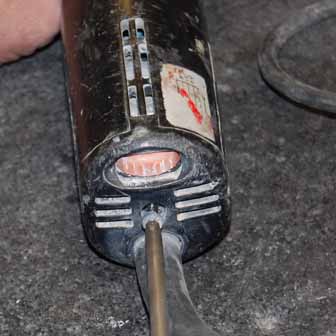
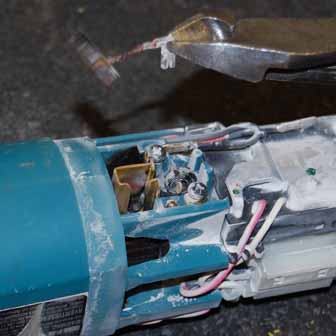
Unscrew the screws located in the back of your grinder right next to the power cord. |
|
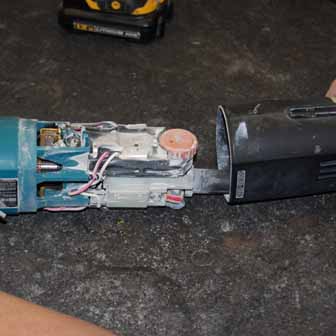
Remove the back cover from the motor housing. |
|
Take Out Brushes: The brushes are located at the back end of the blue motor housing. (There will be two, one on either side) Simply pull off the brush leads and slide the brushes up and out of the brush holder.Check out the brushes:
Order online: 9564 Brushes |
|
Take out the four screws holding togeather the gear housing to the gear housing cover. |
|
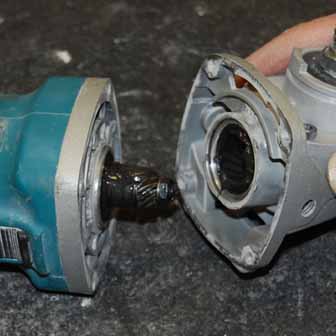
Separate the housing from the cover from each other. |
|
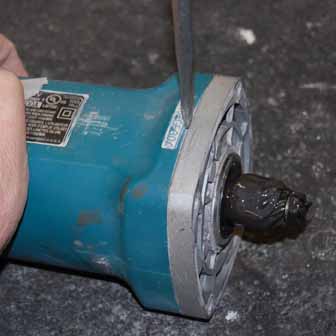
Pry Off Motor Housing Cover: There will be a small slot on one side of the motor housing, with a screwdriver separate the gear housing cover from the motor housing. |
|
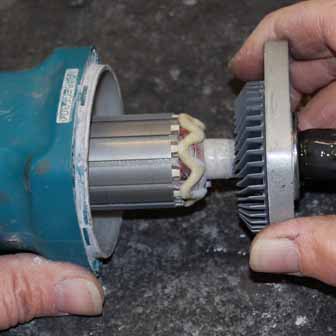
Take Apart: Pull the gear housing cover from the motor housing. |
|
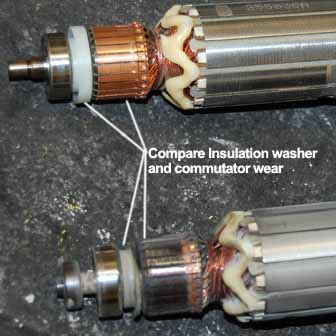
Compare Armature: At this point you will be able to fully compare your old armature with your new one. The old armature will probably be pitted and worn down. You will also notice that the plastic insulation washer almost gone. Refer to the “bad armature” symptoms above for more information. |
|
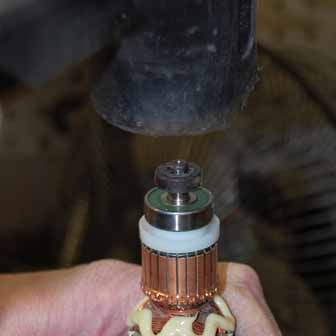
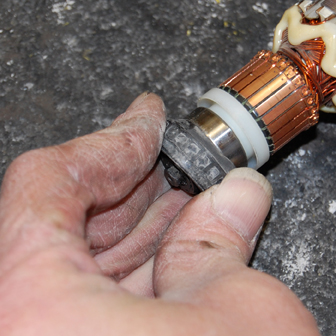
Remove Magnet Sleeve: With your stop spring removed simply pull off the magnet sleeve and the washer directly under it. |
|
Stop Spring: Turn your armature over and remove the stop spring that is holding your magnet sleeve in place. A dentists pick works great for this. Be sure to place stop spring in a special location so that you don’t lose it. |
|
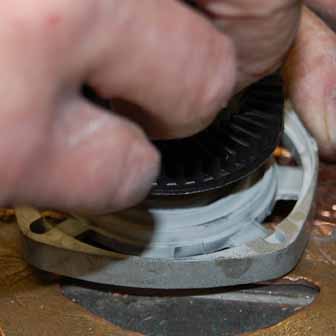
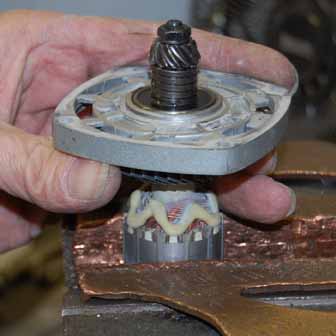
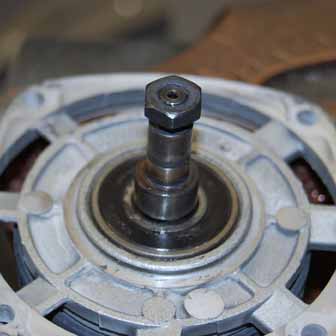
Secure your armature: It will be much easier if you can secure your armature with something like a bench vice. In this image you will see we have brass protection plates in the jaws of the vice to protect the armature. You could also use wood strips between the vice jaws and your armature. |
|
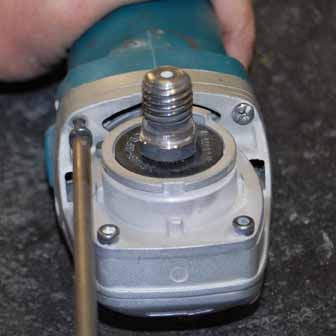
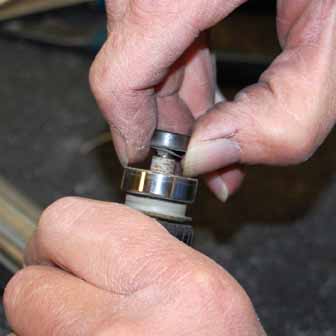
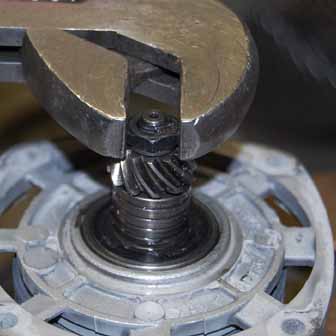
Unscrew hex nut and remove the washer |
|
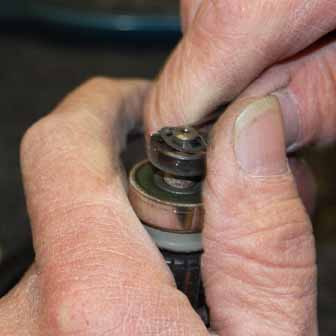
Remove Gear from Armature: You will need to pry them loose with a screwdriver. When the gear and stop spring have been pried loose, you will be able to easily separate them from your armature assembly. |
|
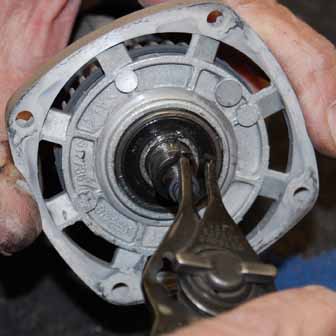
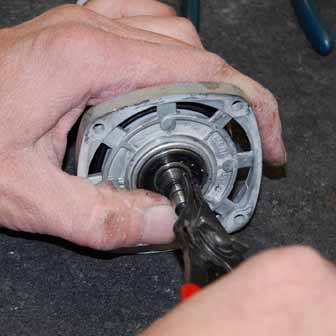
Unclip the lock spring that is holding in the bearing. |
|
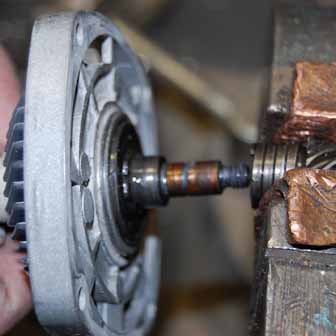
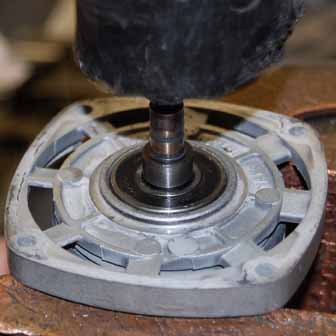
Separating Armature From Gear Plate: In order to remove the armature from the gear housing plate you will need to lightly tap at the end of the armature with a plastic deadblow hammer. Protect your threads by replacing the hex nut. |
|
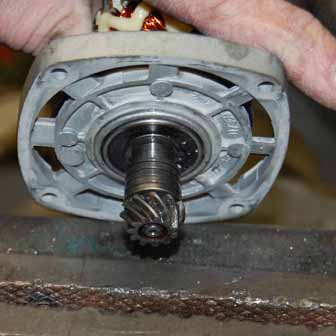
Tap Out Armature: Adjust your vice jaws so that you can loosely place your armature within the vice with the back of the gear housing plate resting on top of the jaws. Once this is done you will be able to lightly tap at the armature with a plastic deadblow hammer. |
|
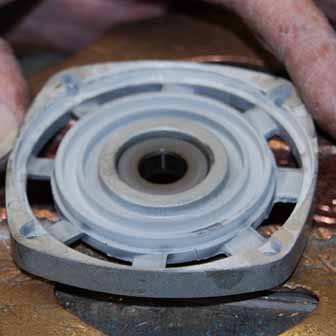
Now flip your gear housing cover over and place back on top of the vice jaws. |
|
Seat Bearing: Making sure your bearing is in place, tighten up your vice jaws to allow just enough room for the armature threads to loosely fit within the jaws and with the bearing sitting on top of the jaws. |
|
Place your armature on top of the vice, lightly tap it into place. |
|
Replace Retaining Ring: Now that the armature bearing has been seated, replace the retaining ring. |
|
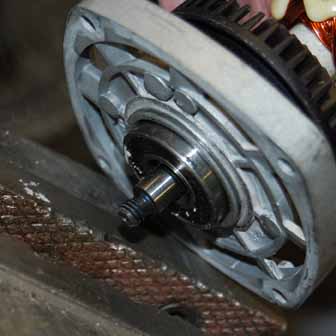
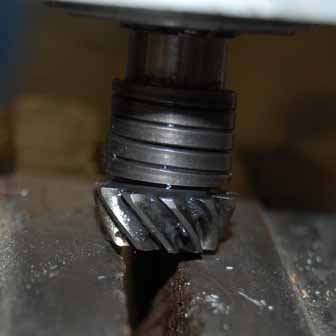
Slip on the stop spring and the spiral bevel gear |
|
Place over cracked open vice jaws |

|
Tap Home: With the armature resting on the vice jaws, lightly tap home the stop spring and bevel gear. |

|
Just replace the washer and hex nut. |
|
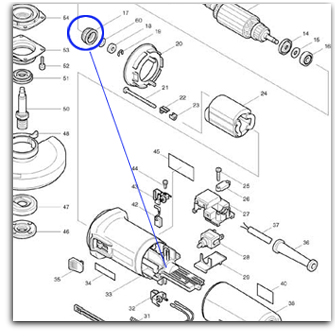
Rubber Ring: If the Labyrinth rubber ring wasn’t attached to the exposed bearing when you removed your old armature, it will be inside your grinder motor housing. You will be able to remove it with something like a dentists pick. It will be located within the motor housing in the spot illustrated in the diagram. |
|
Carefully place the rubber ring over the exposed armature bearing. |
|
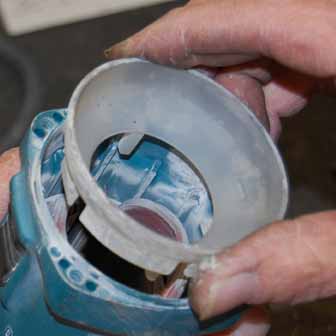
Insert Baffle Plate: Align the baffle plate guide posts with the proper guide slots within your grinder motor housing and insert the baffle plate. |

|
Replace your Armature: Insert your new armature within your motor housing. If its resisting your light taps, take out your armature and make sure the rubber ring is in proper position. Try again, if it’s still not slipping into place you may have a distorted motor housing from overheating.If Needed:
Makita 9564 Motor Housing |
| Now simply assemble the rest of your grinder in the reverse order that you disassembled it. Thats it. You should be running in perfect order. |
Posted in Grinders, Makita Tool Repair, Tool Info, Tool Tips, Tools and tagged with relpace 9564 armature, Makita 9564 armature, fixing 9564 makita armature, 9564 armature repair by admin.